
Apart from the role as a serious vinyl record collector, my primary job is a data scientist. So, I have to work with Raspberry Pi to collect IoT data for real time analytics. Unfortunately, the life is quite boring when working in the data science lab and IoT lab for more than 10 hours a day.
Then, I have built a small Hifi system with a piece Raspberry Pi and a piece of X400 Audio Expansion Board. The total cost is just around US$70 for a class-D (20w+20w) amplifier and a media center.
Items needed:
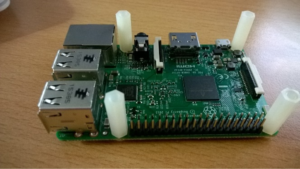
- Raspberry Pi model 2 / 3 / 3+
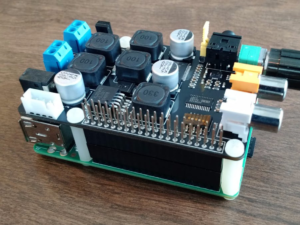
- X400 Expansion Board
- 1 x X400 expansion board
- 4 x nylon spacers (M3 x 20mm)
- 8 x nylon screws (M3 x 6mm)
- 2 x jumper links
- SD-Card (>8G), class 10 or above
- Power Supply, recommended as 12-24V, 3.5A or above
- 6V to 24Vdc converted to 5V, 3A via step-down DC/DC converter to power the Raspberry Pi
I will show the steps of installation of hardware and basic configuration with Volumio (an OS for PI to play music). There are several steps (likely within 2 hours including installation of Volumio):
- Fitting the Expansion Board
- Preparing the Power Supply
- Preparing Volumio OS for Pi
- Configuring with Volumio
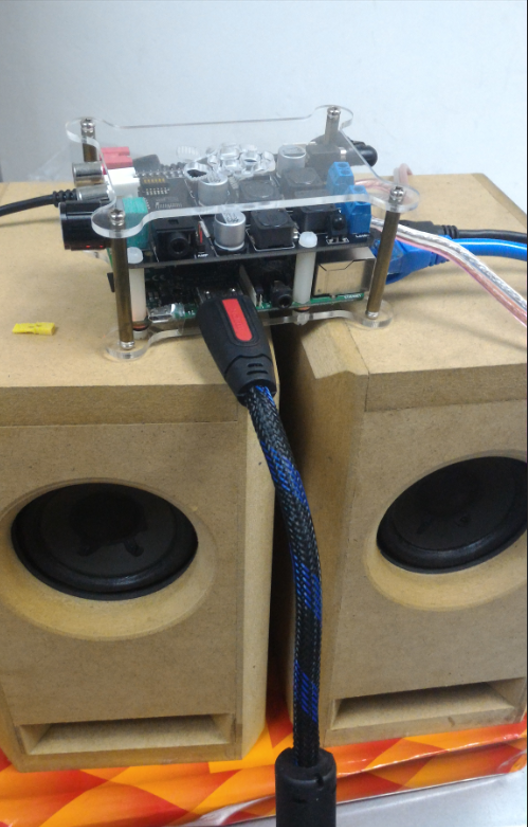
- Testing with Speakers
Remark: this is not a technical website and not going to suggest the Amplifier built on top of Raspbian directly.
Fitting the Expansion Board
There are 4 nylon spacers to be fit for joining the Raspberry Pi and the expansion board together.
1. Push a screw up through the mounting hole on the underside of the Raspberry Pi and screw the spacer down until it is tightly fit.
2. Plugs the expansion board straight into your Raspberry Pi B+’s GPIO header and screw down
Optional: DAC only VS AMP enabled
If you are going to connect the expansion board with Speakers, it is important to take out the jumper on the top.
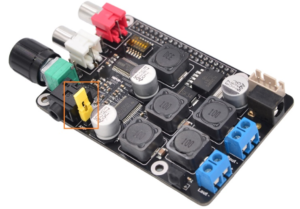
If you’re going to connect speakers, it is extremely important to ensure the speakers are well connected in order to avoid damage of the expansion board.
Preparing the Power Supply
The X400 expansion board is also taking care the power of Raspberry Pi by stepping down the voltage.
We have used a generic switching Power Supply.
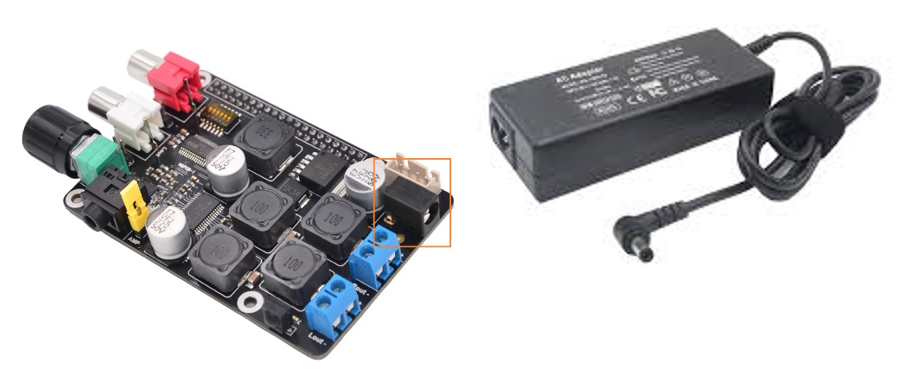
Next, you should power on the power supply and connect the plug near the speaker output.

Preparing Volumio OS for PI
Before getting the Volumio OS, you should check the following website
Next, we click on the “Download” in the top menu.
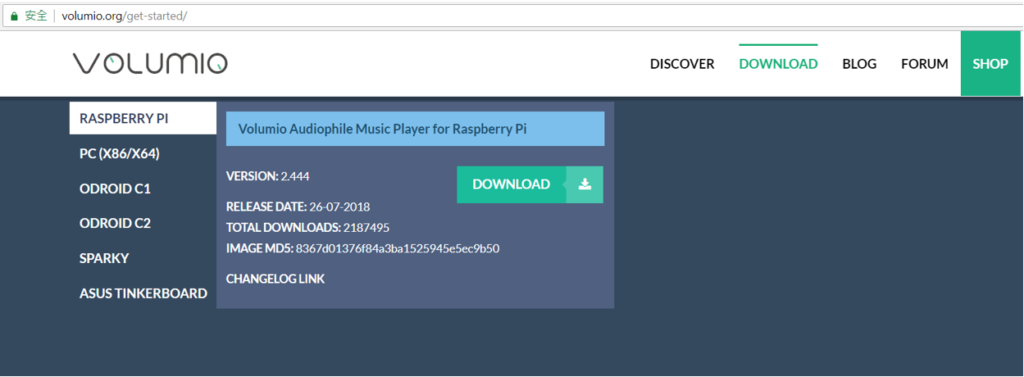
Then, choose Raspberry Pi and click “Download” on the right. Once the image file is ready, it is important to put the OS image into an SD card.
There are 2 different tools suggested to download:
- SD Card Formatter – a tool for formatting the SD-card before use
- Win32DiskImager – a tool for burning SD-card image
SD Card Formatter
It is suggested to format the SD card before burning the Volumio image. Choose “Quick format” and press “Format” to format the card.
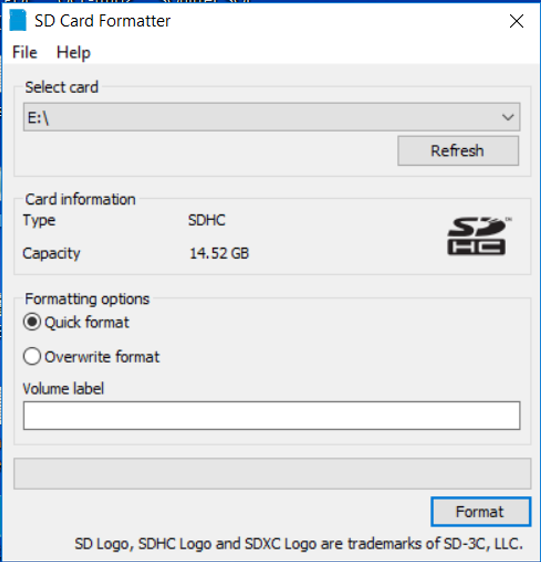
Once it is finished, it is time to prepare the Volumio image by Win32DiskImager.
Win32DiskImager
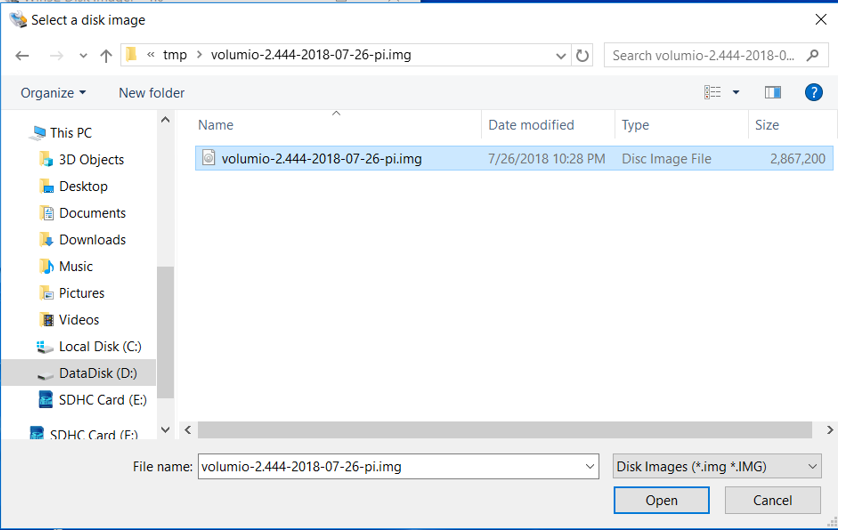
First, you should call the Win32DiskImager in the window menu. Then, the program window will be prompted. Click on “Select a disk image” button as highlighted.
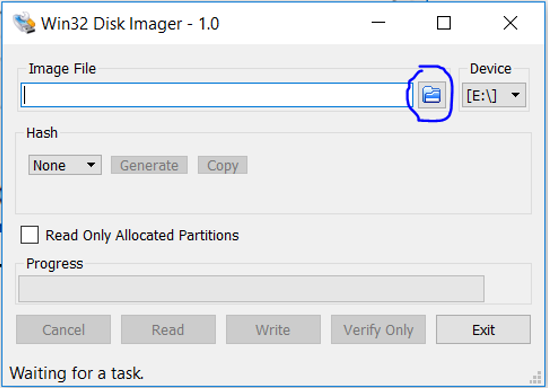
Select the image file location
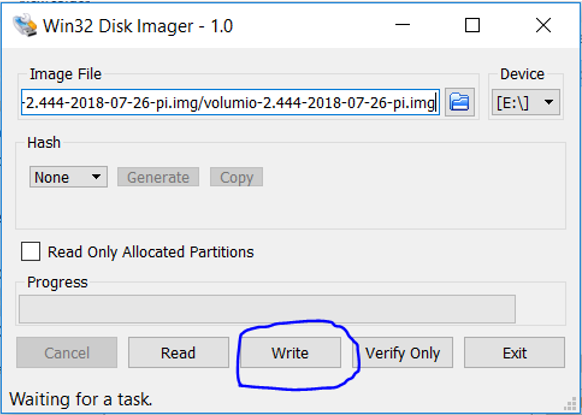
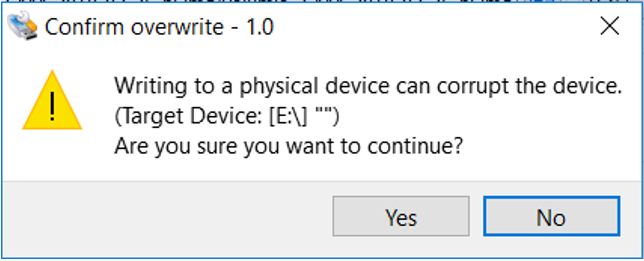
Next, click on “Write” button and press “Yes” to continue.
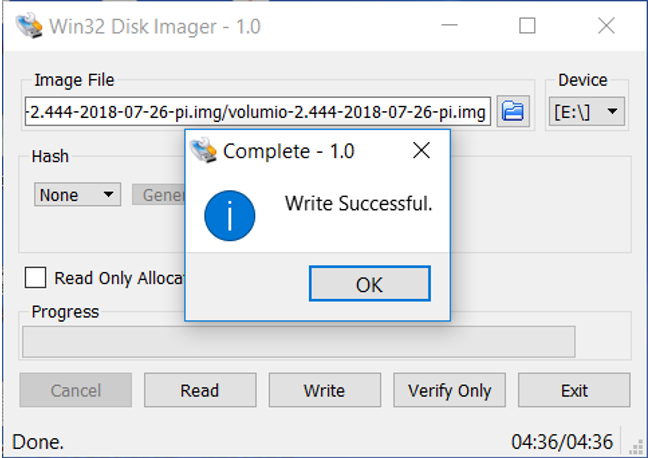
Click “OK” once finished.
Configuring with Volumio
In order to access the Volumio, it is very simple to use a web browser in your computer or tablet.
| http://volumio.local
Or http://<ip-address> e.g. http://192.168.0.102 |
There is a wizard available for the first connection. Once the “First Run Wizard” pop-up, there are 6 different parts to be set.
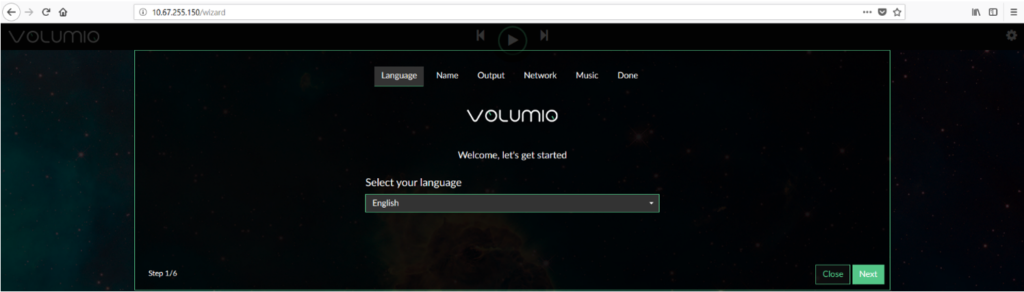
Here are the basic steps to make it works.
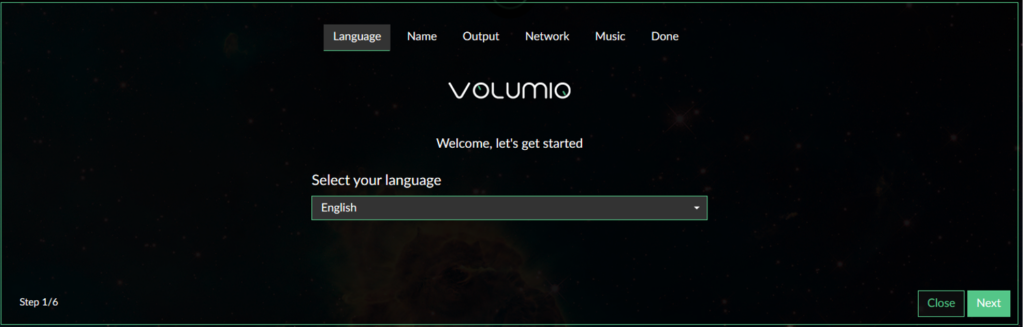
1. First of all, the language preferred should be set and click “Next”.
2. Then, the unique hostname for the Raspberry Pi Volumio station should be set. By default, it is named as “volumio” and calling it as “volumio.local”.

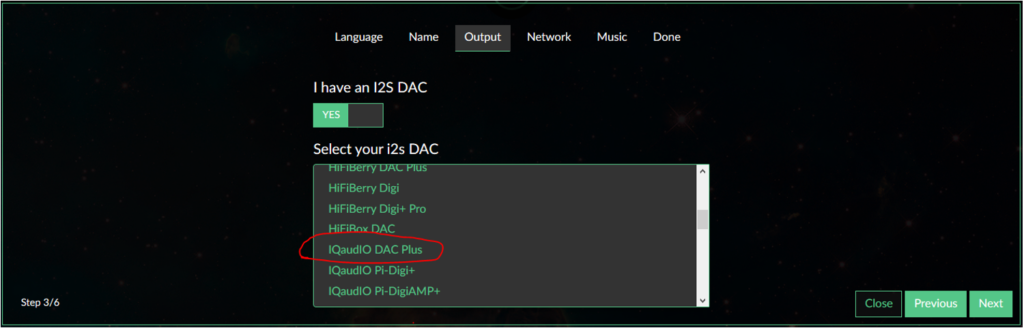
3. Next, click on “Yes” for “I have an I2S DAC” for I2S interface of Raspberry Pi used for the communication between the Pi and the board. For the i2s DAC, the “IQaudIO DAC Plus” should be picked for X400 expansion board.
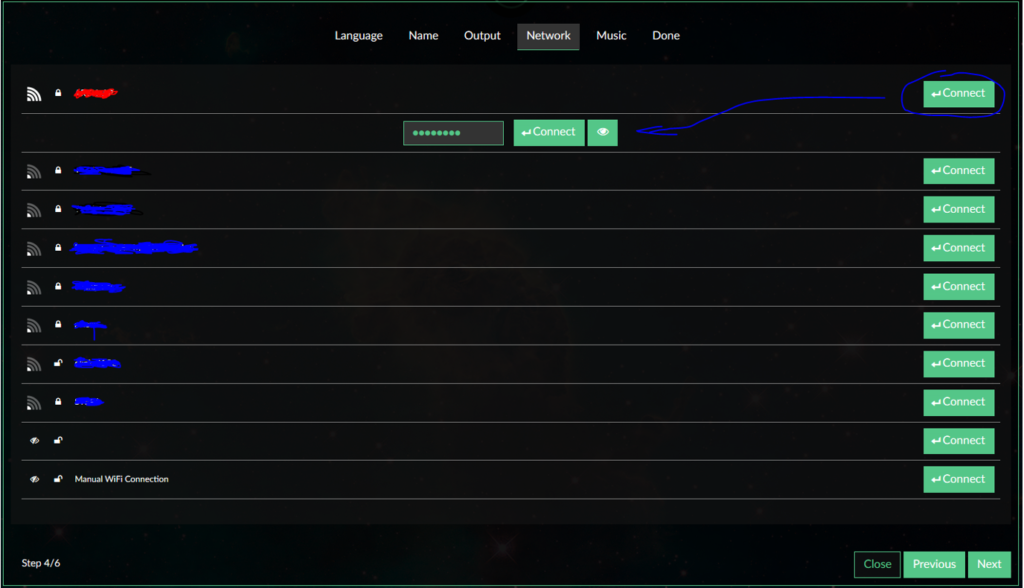
4. After the output selected, it is time to configure the network. Beside the network to be used, click on the “Connect” button and input the password. Then, click on the “Connect” button next to the password to confirm your password input. Once, it is done and the volumio will try to connect to the proposed network immediately. If you are not using a Pi with wireless network like Pi zero, you may use a wifi doogle to do so. If your network cable is being connected to the Pi, the wizard should provide the network information for you. The configuration method should be similar.
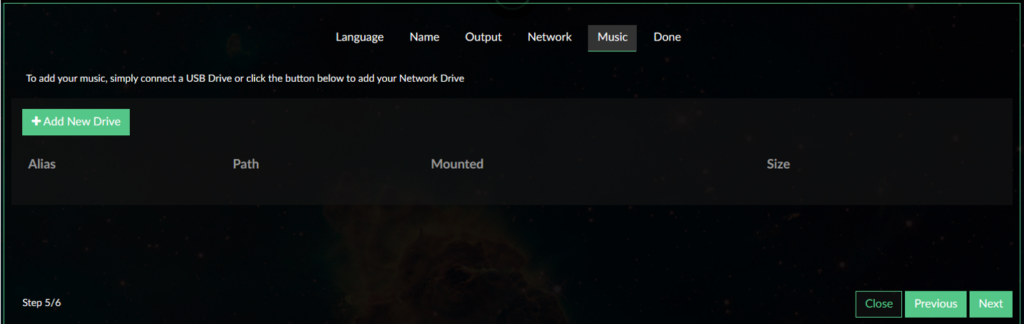
5. Under the “Music” tab, you can add your USB drive or any Network Drive as one of the music (data) source for the Volumio.
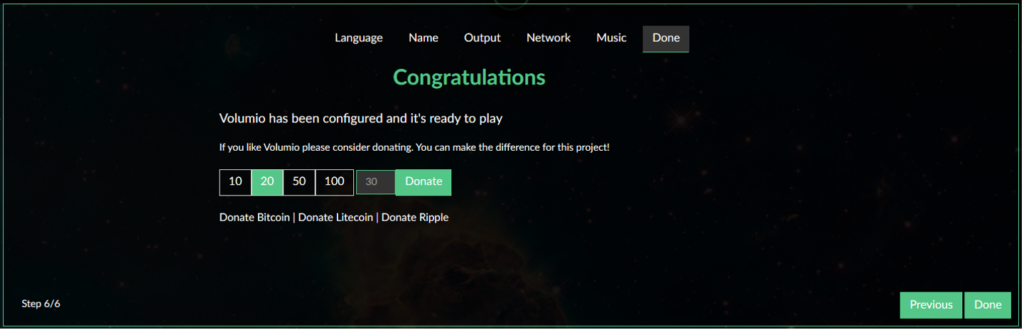
6. Finally, it is finished and prompt you a screen for donation. It’s fair for the developer to ask for your support with their hard-work. You can make your choice for your support to the Volumio developer(s).
7. Once it is finished, you can click on the menu button on the top right hand corner for picking up different tools available in the volumio.
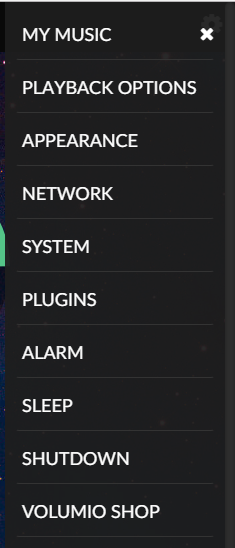
8. It is important to note that Raspberry Pi (Volumio) is a computer and not suggested to shut it down as just an amplifier. The proper way to shut down is to click on the “Shutdown” in the menu. Then, you should see the following window and click on “Power Off”. You may wait 30 seconds or only the red light is on the Pi.

That’s it for the basic configuration & set up for the Raspberry Pi and X400 expansion board.
For more information, it is recommended to check the details available in the official website.
